Intro and Workflow
Hi, this is the first of a four part series documenting my new photogrammetry scattering workflow. In a nutshell I'm using two custom photogrammetry capturing rigs to scan elements which i then scatter in Houdini. The export from Houdini is then baked and composited in Substance Designer.
What Will be Covered
In this first post i will go through the photogrammetry capturing techniques and tools i use. The second will cover the tools i made for processing the data, the third will cover the tool i made for scattering objects in Houdini, and the fourth will go over the baking and compositing in Substance. I've only made one texture with this workflow so far which is the grass texture you can see on my profile https://www.artstation.com/artwork/Yal5eq but more are on the way. I hope you get something of value from this, if you have any questions please ask them in the comments.
Photogrammetry Rigs
First up a disclaimer - this first part will only be interesting if you've made or are thinking about making your own photogrammetry rigs :)
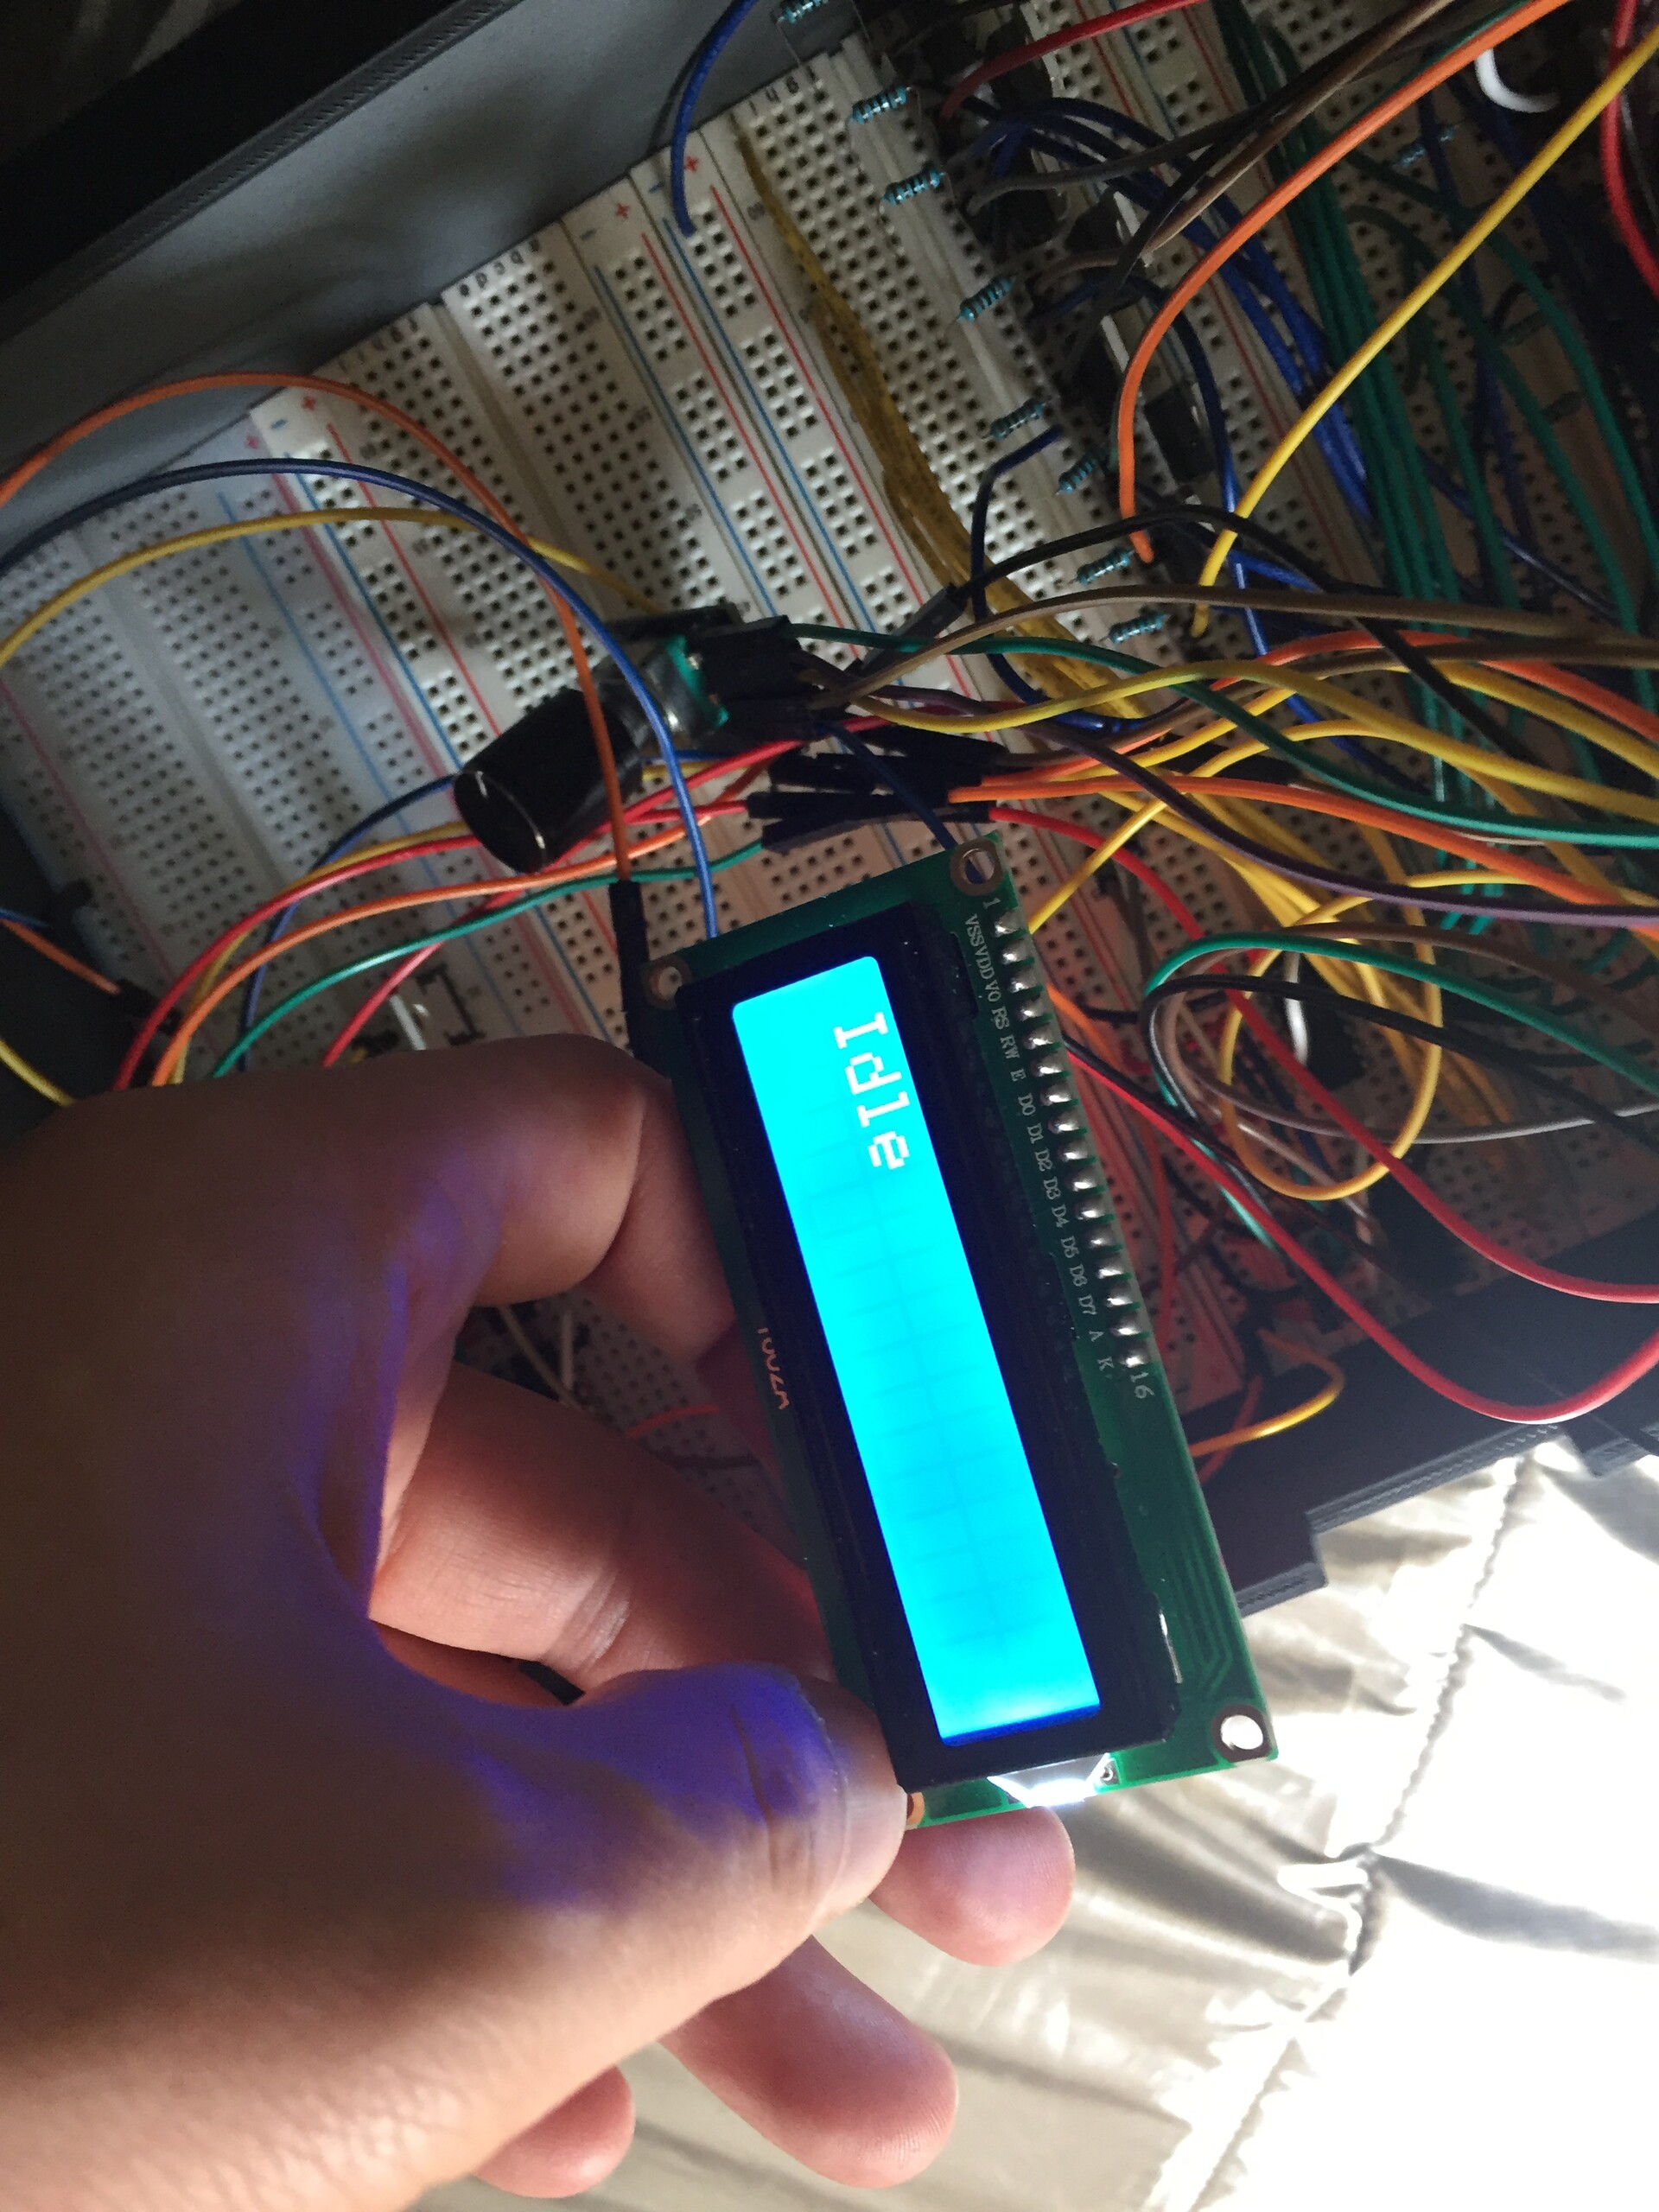
I've set up two rigs at home, one is a turntable setup used to capture full 3d objects and the other is a photometric stereo rig used to capture foliage top down. First here is the photometric stereo rig. It's automated using an arduino. The camera is mounted inside and is cross polarized with each of the light sources.

The camera is a Sony ARII and is using a 35mm prime lens which captures an area slightly larger than an A4 page. I added a little menu to make debugging easier, the electronics are a bit of a mess,
for the next version of this I'd like to do a custom circuit board to get rid of all of the wires. I've also been looking at ways to create a sturdier frame to aid making more accurate measurements to counter light falloff on the images. Finally I've also been looking at light boxes to illuminate foliage from behind to get transmissive maps
For processing I was initially looking at writing something myself, but after doing some research and testing i found that i was happy with the results i got using a console app called Dabarti Capture. Since their site does an excellent job explaining the process and showcasing the results i won't delve into that other than to say that i got similar results to theirs.
For camera settings i used and aperture of 11, and to keep the iso low i set the exposure time quite high at about 2 seconds.

The second Rig is set up to capture full 3d objects. I'm using a light tent which i put two additional 50w Led lights in. The amount of light means i can capture a lot of images fast at low iso's which is key for this rig as it takes a lot longer to shoot and process with than the photometric rig.

I capture three sets of 32 images around the object turning it between each set. I then run it through reality capture to create the final model. I 3d printed the automated turntable, hooked up the camera and stuck an arduino, lcd panel and rotary encoder in it to let me change the number of rotations and images per round on the fly. Here it is in action (sorry for the flickering, my phone can't handle the amount of light!)
And here are a few shots of object's I've captured with this rig in Zbrush. The rock is about 4 cm wide and the stick is about 13 cm long :


So far I've captured around 700 pieces of foliage with the photometric rig and around 20 models with the photogrammetry rig (although i plan to do more with the photogrammetry rig in the near future). And that about wraps up the first part. The next post will go over the scripts i wrote to automate the processing of all this wonderful data!